


Clicwall: fast installation, stylish result
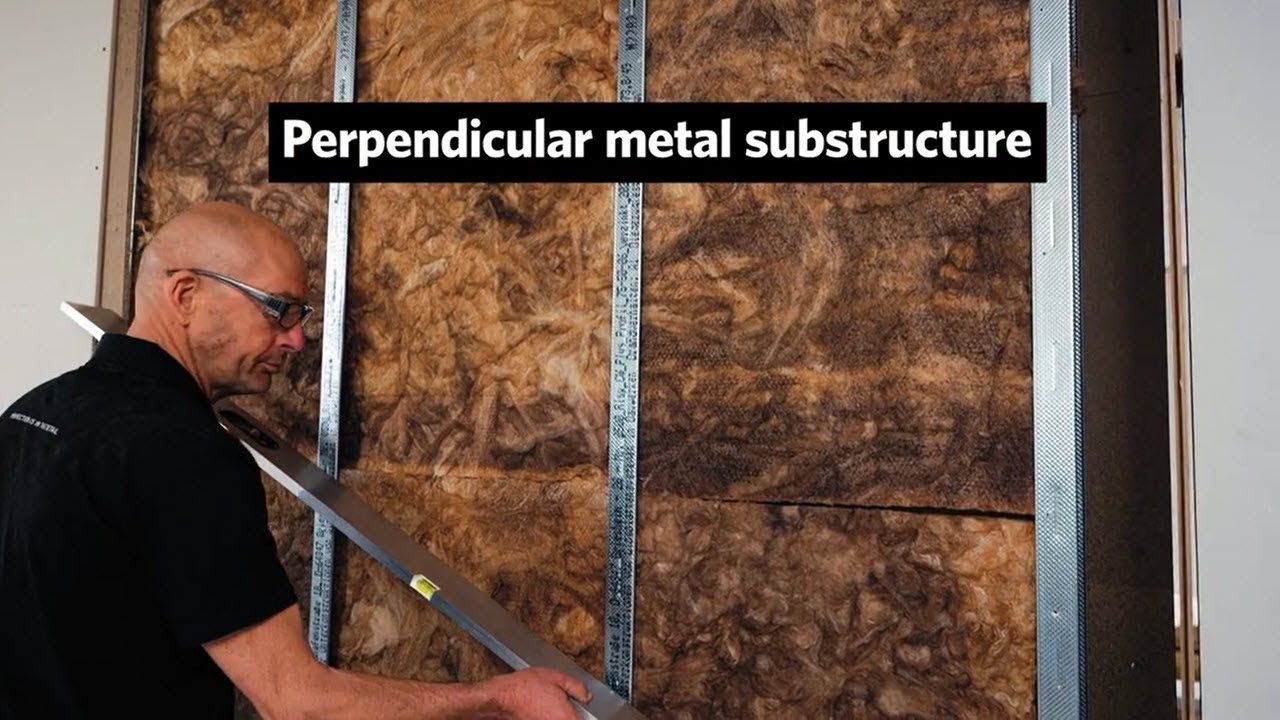
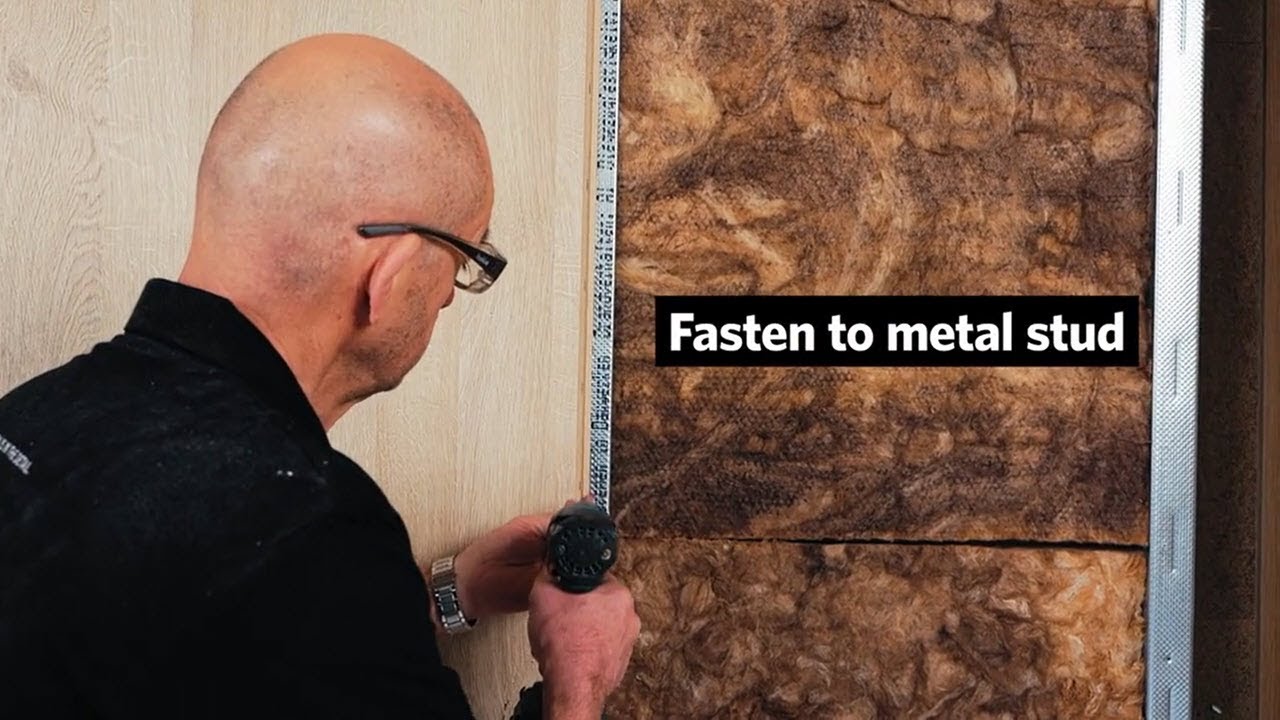
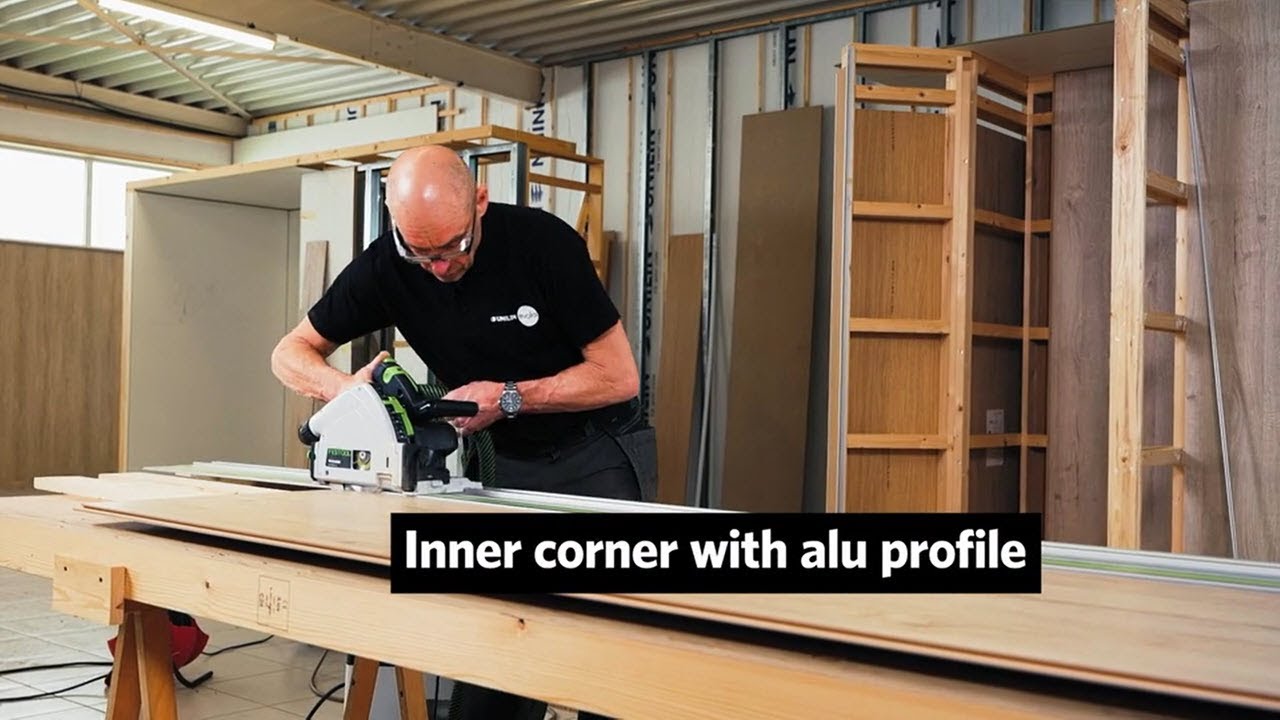
Want to install your wall linings and partition walls quickly and without any dust? Clickable MDF wall panels with a melamine coating make it easy. See all installation tips for installing and finishing Unilin Clicwall here.